Spicy Korean Bulgogi Cheeseburger Wraps
Savor the irresistible flavors of spicy Korean bulgogi cheeseburger wraps, a quick and easy dinner indulgence perfect for satisfying your comfort food cravings.
Recipe Overview
Savor the irresistible flavors of spicy Korean bulgogi cheeseburger wraps, a quick and easy dinner indulgence perfect for satisfying your comfort food cravings.
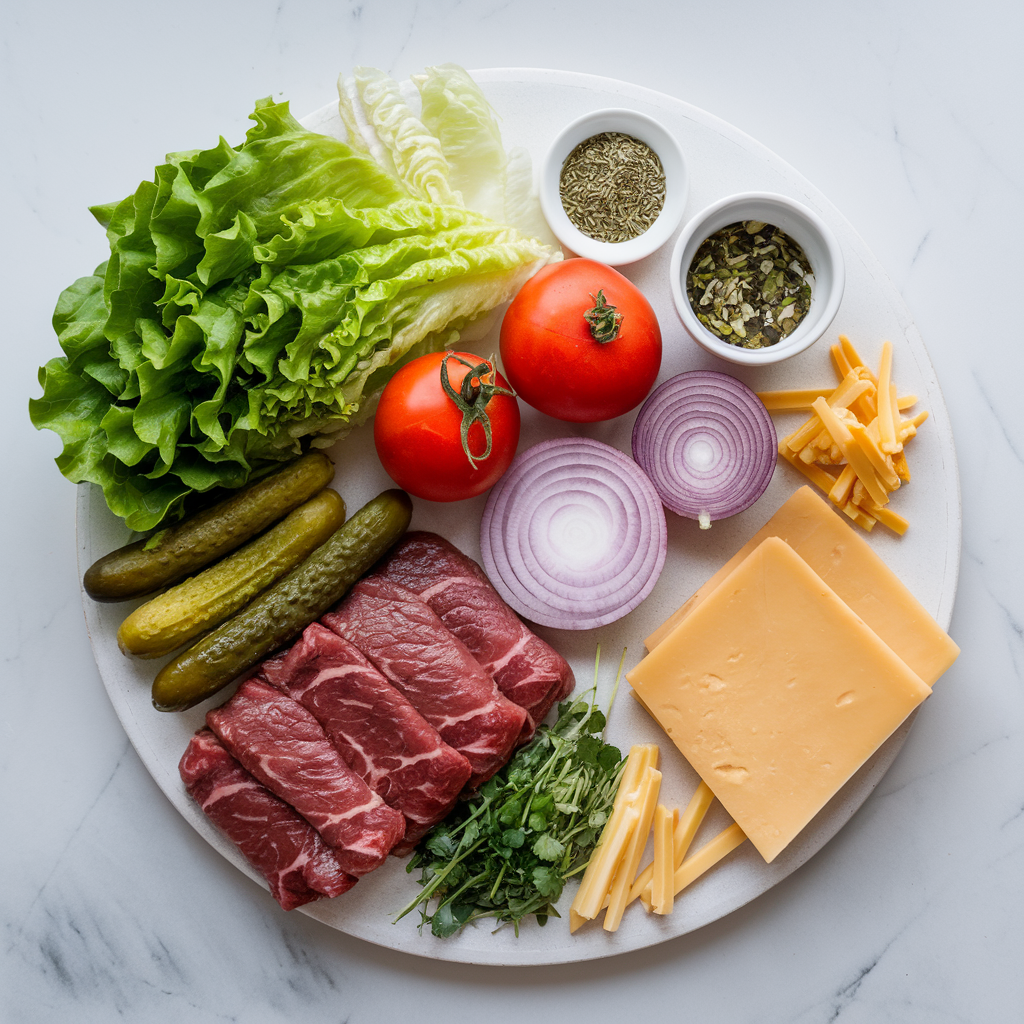
Ingredients
- • Ground beef: 1 pound
- • Soy sauce: 1/4 cup
- • Brown sugar: 2 tablespoons
- • Garlic, minced: 3 cloves
- • Gochujang (Korean chili paste): 1 tablespoon
- • Sesame oil: 1 tablespoon
- • Cheddar cheese, shredded: 1 cup
- • Flour tortillas: 4 large
- • Butter lettuce leaves: 8 leaves
- • Dill pickles, sliced: 1/2 cup
- • Red onion, thinly sliced: 1/4 cup
- • Sesame seeds: 1 tablespoon
- • Vegetable oil: 1 tablespoon
Instructions
- 1 Heat a large skillet over medium-high heat and add the vegetable oil. Once hot, add the ground beef, breaking it apart with a spatula, and cook until browned, about 5 minutes.
- 2 In a small bowl, whisk together the soy sauce, brown sugar, minced garlic, gochujang, and sesame oil. Pour this mixture over the browned beef, stirring well to coat. Let it simmer for 3-5 minutes until the sauce thickens slightly.
- 3 While the beef is cooking, preheat a separate non-stick skillet over medium heat. Place a tortilla in the skillet and sprinkle 1/4 cup of shredded cheese over one half. Allow the cheese to melt slightly, then remove from heat.
- 4 To assemble, lay two butter lettuce leaves on the cheesy side of the tortilla, then spoon a generous amount of the bulgogi beef over the lettuce. Add a few slices of dill pickles and red onion, then fold the tortilla over to create a wrap.
- 5 Repeat with the remaining tortillas and ingredients. Garnish each wrap with a sprinkle of sesame seeds. Serve warm and enjoy!
Serving Suggestions
- • These Spicy Korean Bulgogi Cheeseburger Wraps pair wonderfully with a side of crispy sweet potato fries or a refreshing cucumber salad. For a beverage, consider a cold glass of ginger beer or a light, crisp lager to complement the bold flavors of the wraps. The tanginess and slight sweetness of the drink will balance the spicy and savory notes of the dish. For a complete indulgence, add a dipping sauce like spicy mayo or a tangy Korean BBQ sauce on the side. This will enhance the flavor profile and provide an extra layer of richness to the already decadent wraps.
Storage Tips
If you have any leftovers, store the cooked bulgogi beef in an airtight container in the refrigerator for up to 3 days. To reheat, simply warm it in a skillet over medium heat until heated through. Keep the tortillas and toppings separate until ready to serve to maintain freshness. You can also freeze the cooked beef for up to 2 months. Thaw overnight in the refrigerator before reheating. Be sure to assemble the wraps just before serving for the best texture.