🥖
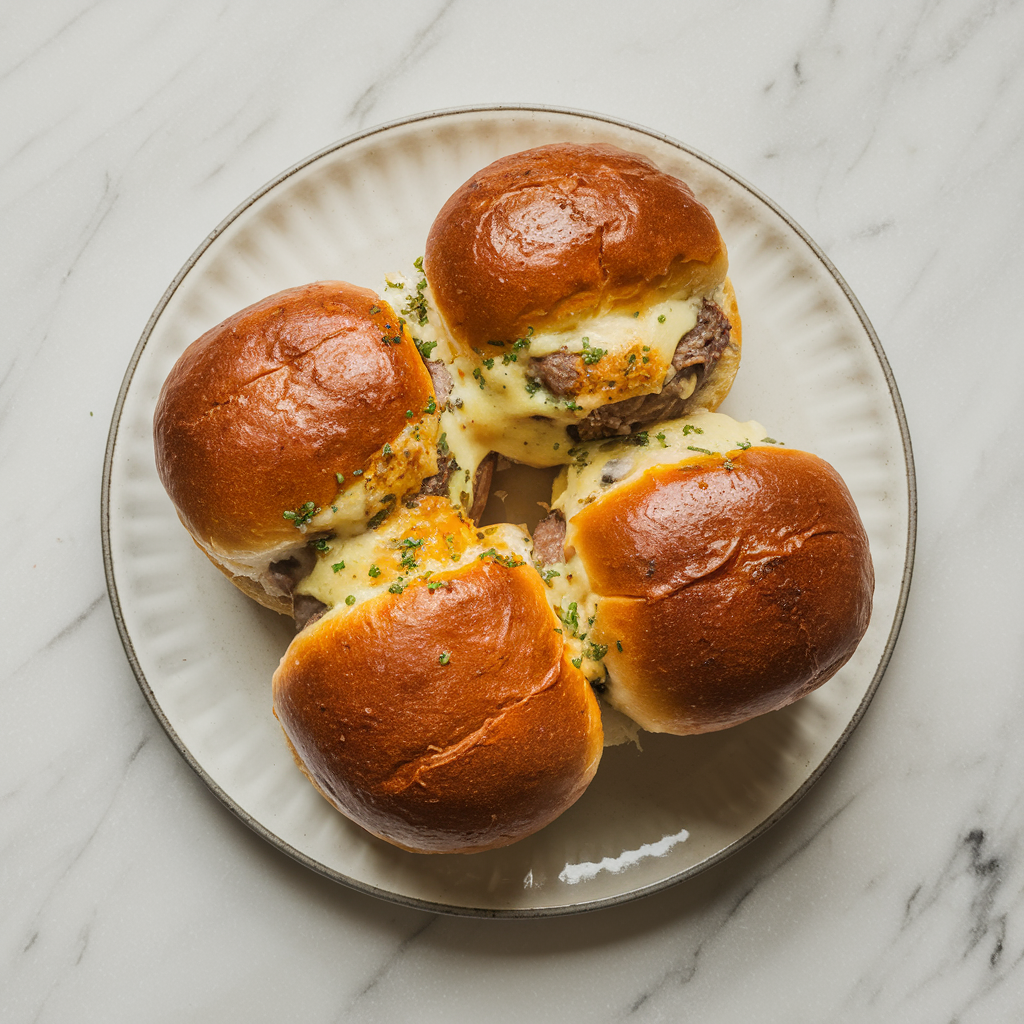
Savory Beef-Stuffed Brioche Buns with Cheesy Garlic Crust
Indulge in these beef-stuffed brioche buns with a cheesy garlic crust—a comfort food dream come true.
Prepare yourself for an indulgent journey with these Savory Beef-Stuffed Brioche Buns, where tender, buttery bread meets a rich, meaty filling. Imagine sinking your teeth into a golden, fluffy brioche bun, only to discover a succulent beef filling bursting with umami flavors. Topped with a cheesy garlic crust, these buns are the epitome of comfort food decadence.
This recipe takes the concept of stuffed bread to a new level, combining the irresistible allure of freshly baked brioche with the satisfying heartiness of a beefy filling. Perfect for gatherings, game days, or simply a cozy night in, these buns are sure to impress with their mouthwatering aroma, contrasting textures, and the wow-factor of a cheesy, golden crust.
Recipe Overview
Prep Time
30 mins
Cook Time
40 mins
Total Time
70 mins
Servings
8
Calories
650 kcal
per serving
Cuisine
Italian
Indulge in these beef-stuffed brioche buns with a cheesy garlic crust—a comfort food dream come true.
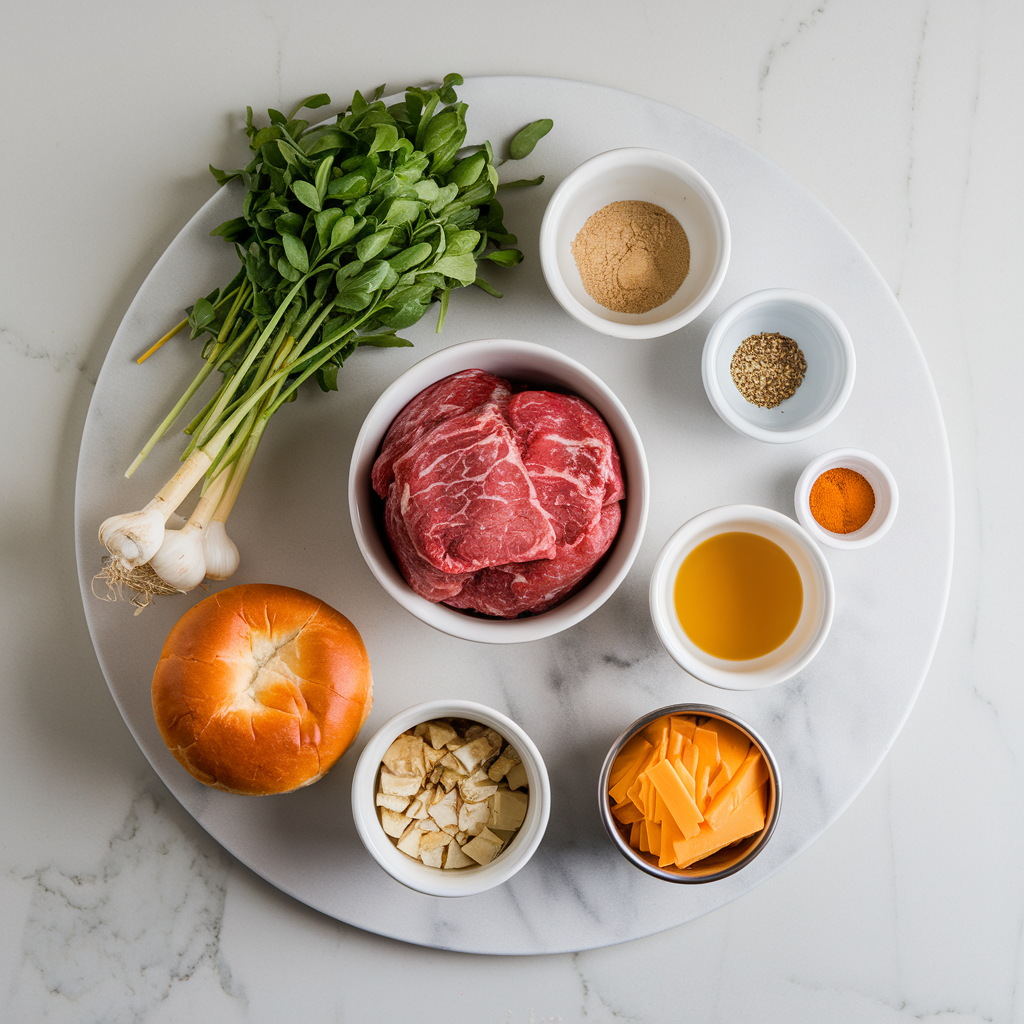
Ingredients
- • All-purpose flour: 3 cups
- • Granulated sugar: 2 tablespoons
- • Instant yeast: 2 teaspoons
- • Salt: 1 teaspoon
- • Eggs: 3 large
- • Unsalted butter, softened: 1/2 cup
- • Whole milk: 1/2 cup
- • Ground beef: 1 pound
- • Onion, finely chopped: 1 medium
- • Garlic cloves, minced: 3
- • Worcestershire sauce: 2 tablespoons
- • Cheddar cheese, shredded: 1 cup
- • Mozzarella cheese, shredded: 1/2 cup
- • Fresh parsley, chopped: 2 tablespoons
- • Garlic powder: 1 teaspoon
- • Olive oil: 1 tablespoon
Instructions
- 1 Preheat your oven to 375°F (190°C) to create a warm environment for rising dough.
- 2 In a large bowl, combine flour, sugar, yeast, and salt. In a separate bowl, whisk together eggs, softened butter, and milk. Gradually add wet ingredients to the dry, mixing until a soft dough forms. Knead for about 10 minutes until smooth and elastic. Cover and let rise in a warm place until doubled in size, about 1 hour.
- 3 While the dough rises, heat olive oil in a skillet over medium-high heat. Add chopped onion and garlic, sautéing until fragrant. Add ground beef, breaking it up with a spoon, and cook until browned. Stir in Worcestershire sauce, half of the shredded cheddar, and parsley. Season with salt and pepper to taste. Let the filling cool slightly.
- 4 Punch down the risen dough and divide it into 8 equal pieces. Flatten each piece into a disk and place a generous spoonful of beef filling in the center. Gather the edges to seal, forming a bun. Place sealed-side down on a baking sheet lined with parchment paper.
- 5 Mix remaining cheddar, mozzarella, and garlic powder. Brush the tops of the buns with a little milk and sprinkle generously with the cheese mixture, pressing lightly to adhere.
- 6 Bake in the preheated oven for 20-25 minutes until the buns are golden brown and the cheese is bubbly and crisp. Let cool slightly before serving.
Serving Suggestions
- • These beef-stuffed brioche buns are perfect on their own, but you can elevate the experience with a side of zesty coleslaw or a crisp green salad for a refreshing contrast. For a dipping sauce, consider a tangy barbecue sauce or a creamy aioli to complement the savory flavors. Pair these indulgent buns with a cold beer or a robust red wine, such as a Malbec or Syrah, for an ideal flavor balance that enhances the richness of the beef and the buttery brioche.
Storage Tips
To store leftovers, allow the buns to cool completely before placing them in an airtight container. They can be refrigerated for up to 3 days. To reheat, place in a preheated 350°F (175°C) oven for about 10 minutes until warmed through and the cheese is melty again. For longer storage, wrap each bun in foil and freeze for up to 2 months. Thaw in the refrigerator overnight before reheating.
Ratings & Reviews
0.0
Based on 0 ratings